Perfect Point E-Drill Fastener Removal

|
Team members required: |
One |
|
Description: |
This event will test the technician’s ability and speed when removing flush installed titanium fasteners from an aircraft structure. This will require technicians to remove 5 fasteners using an E-Drill from an inlet. |
|
References: |
Event Detailed Instructions: https://ppedm.com/about-us/events/amc/ E-Drill Training Videos: |
|
Tools and equipment list: |
Ear Protection Required, we will have spares available. The E-Drill hand tool, locating devices, punches, and consumables will be provided by Perfect Point. |
|
Instructions: |
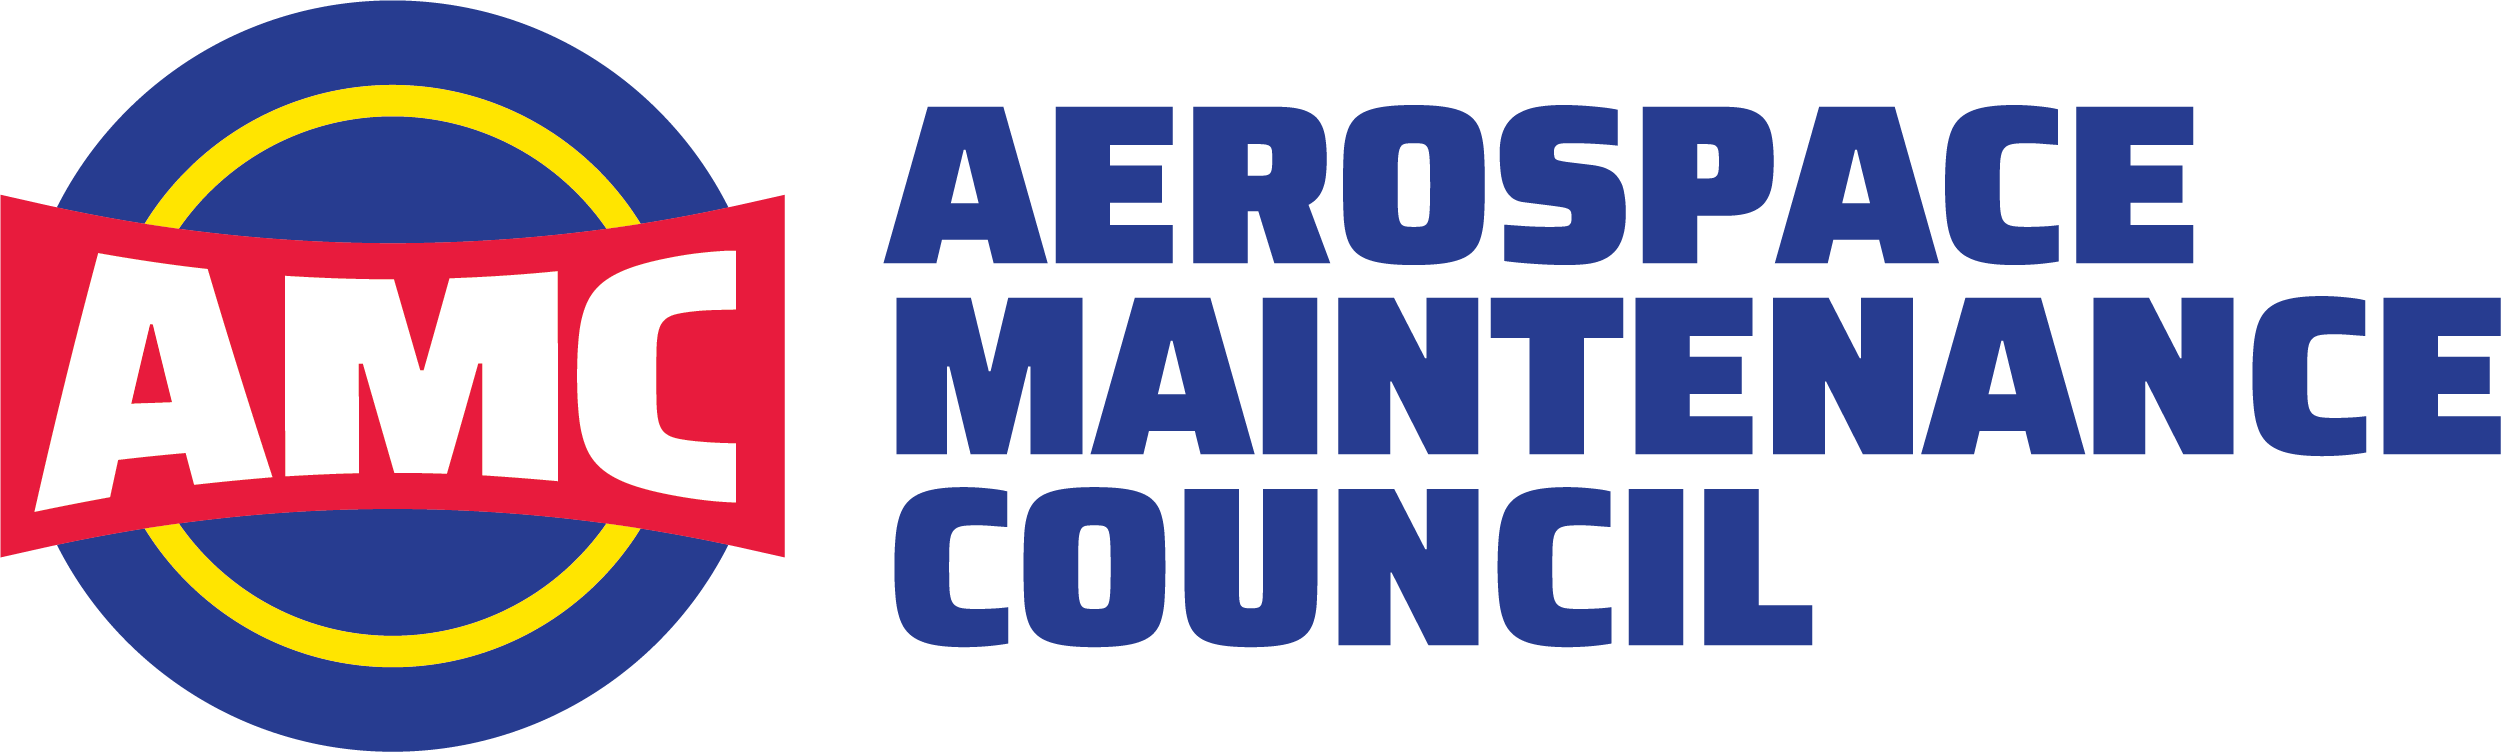
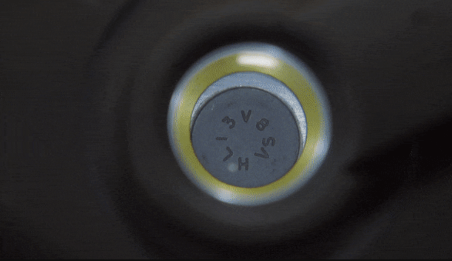
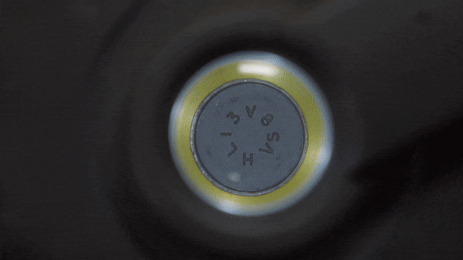
DO NOT RUSH THE LOCATION STEP as it will lead to misalignments and therefore penalties to your score. See final note for information. On the other hand, we will give slight bonuses for cuts that are extremely accurate, less than 1 thou off-center, so take your time.
Improperly aligned locator. Will result in penalty Properly aligned locator over fastener 3. Once aligned, remove the bombsight from the vacuum locator. Insert E-Drill Hand-Tool into OVL Fixture and Cut Fastener
4. Execute Cut Sequence
5. Place E-Drill Back into hand tool stand 6. Repeat steps 2-6 until Qty. (5) fasteners are cut 7. Replace Hand-Tool into the Hand-Tool Stand before continuing to punch out. 8. Using the Single Shot Air Punch, Align the Air punch nose adapter into the Cut Ring on the fastener. 9. Once aligned, pull trigger while pushing down on the tool. Note: If fastener does not separate after, try punching one or two more times. If it still does not punch, move on to punching the rest of the fasteners. You will need to re-locate E-Drill and re-cut the fastener. (steps 2-6) 10. Repeat Steps 9 and 10 for all fasteners. 11. Collect fastener heads/FOD and place in FOD Tray. 12. Notify the judge that you are DONE Note: This year we plan to use our new post-cut inspection device that will analyze how far off the cut is from the center of the fastener head. We will be giving small penalties, 10s, for each cut that is too far off from center of the fastener. We will base this distance off where the cut has potential to break-through the fastener head and damage the underlying part. What this means is you will need to take the time when locating over the fastener to avoid these penalties. |
|
Scoring: |
Scores will be calculated according to the AMC score sheet. Additional penalties will be assessed for misaligned cuts and damage to the workpiece, see the final note in the above section. |

For More Information: